Measuring only 39mm by 37mm, the tiny MYC-YA15XC-T CPU Module is a high-performance and low-cost ARM SoM based on ST STM32MP1 series processors. The MYD-YA15XC-T development board is using the MYC-YA15XC-T CPU Module as core controller board which is populated on a specially designed base board through 1.0 mm pitch 148-pin stamp-hole (Castellated-Hole) expansion interface. It is capable of running Linux. Typical applications are industrial control, consumer electronics, smart home, medical and more other energy-efficient applications which require rich performance and low power.
Below is an evaluation report from user TLLED about the SoM and EVM. Let's see how engineers can take advantage of MYD-YA15XC-T's rich interfaces and features.
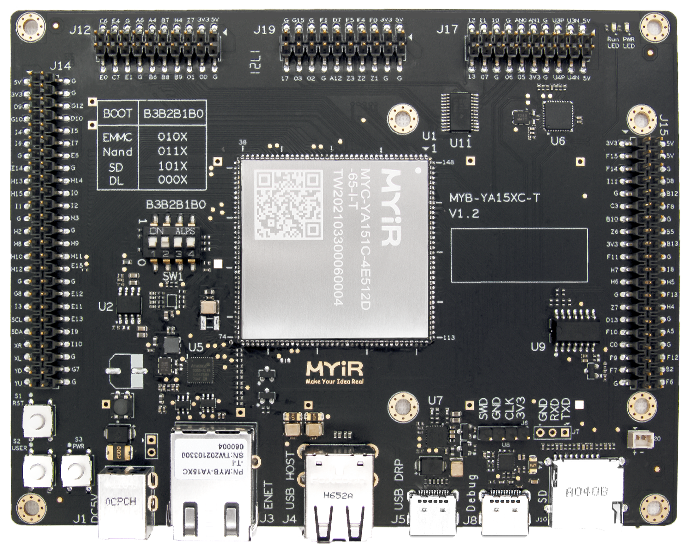
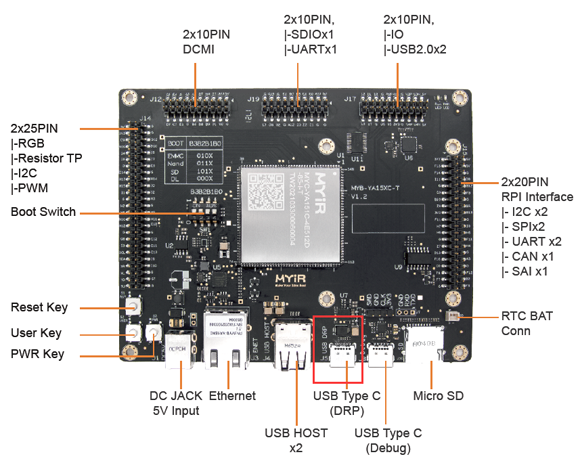
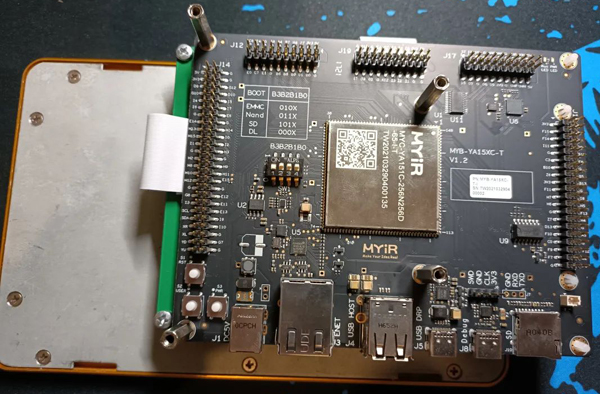
MYD-YA15XC-T Development Board
Part I Burn the system image
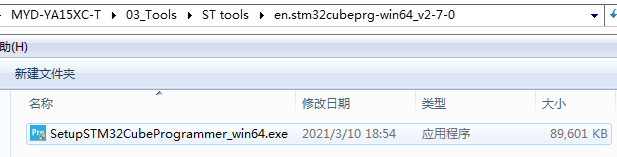
1. CubeProg online burning
1.1 Install the software
1.2 Hardware Settings
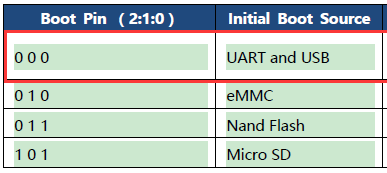
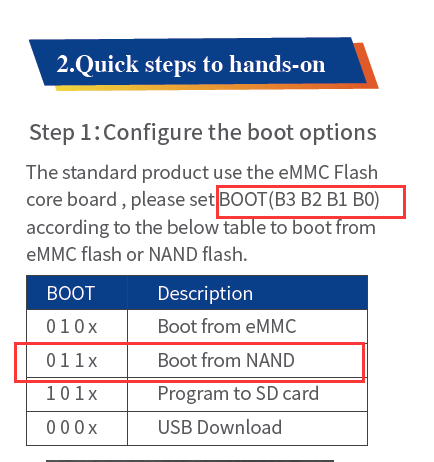
1.2.1 Set up the Boot Mode
1.2.2 Connect USB cable to J5 port of the board
1.3 System burning
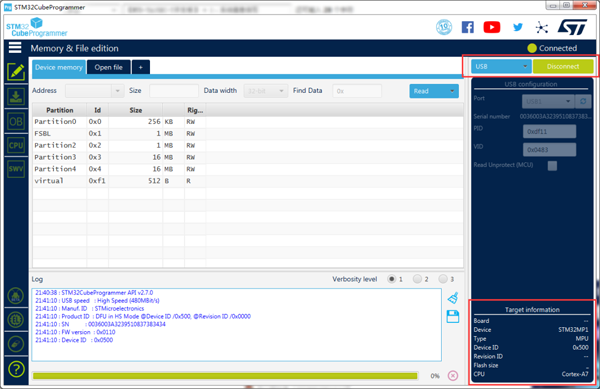
1.3.1 Selecting USB Mode
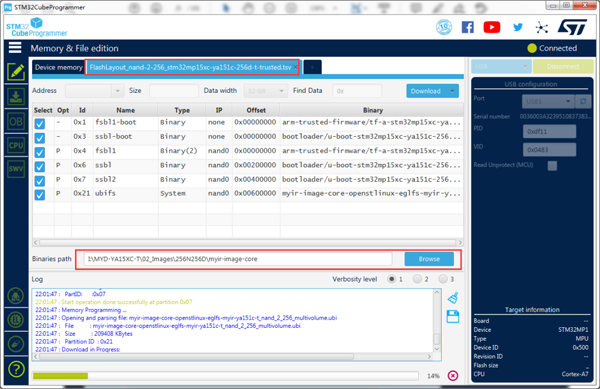
1.3.2 Selecting the system image file
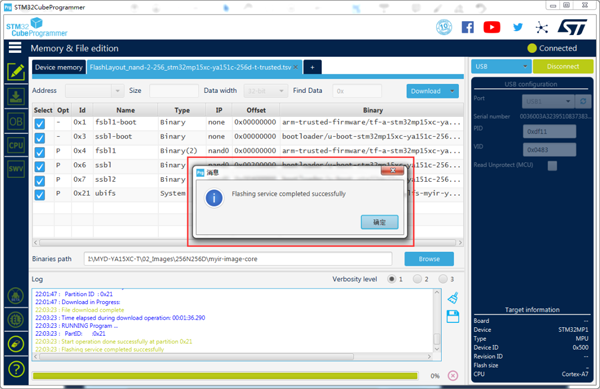
1.3.3 The download is complete
2. Development board running
2.1 Hardware Settings: Select the NAND boot mode
2.2 Connect USB cable to J8 port, power on serial port output
Part II Make the Image and Use SD card for Burning
1. Create the image
1.1 Preparing the Operating Environment
Execute the command: sudo apt-get install kpartx fdisk mount dosfstools e2fsprogs
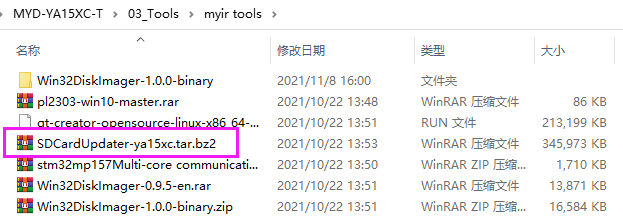
1.2 Copy the SDCardUpdater-ya15xc.tar.bz2 tool to Ubuntu
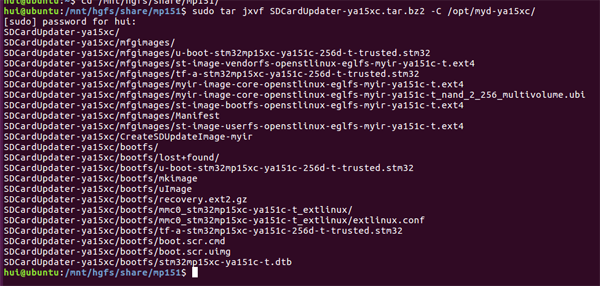
1.3 Make burning software package
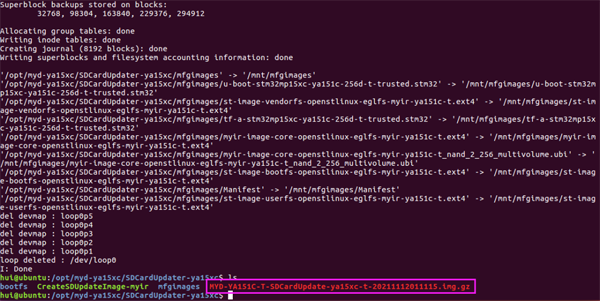
Execute the command: sudo ./CreateSDUpdateImage-myir mfgimages ya15xc-t

Generate a burning package for SD card
2. Make SD card burner
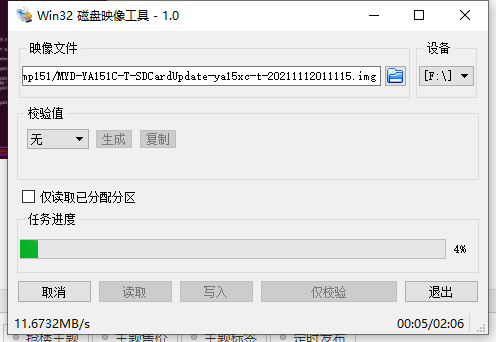
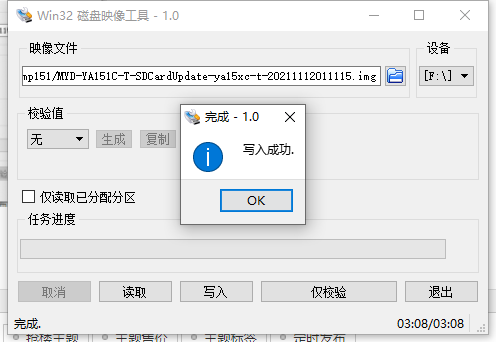
2.1 Open Win32DiskImager, select the image file, and write it to the SD card
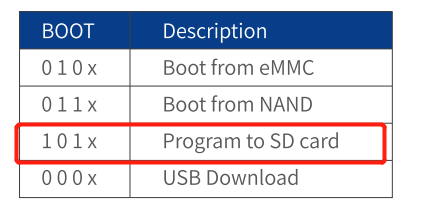
2.2 Set up the BOOT mode of the Development Board
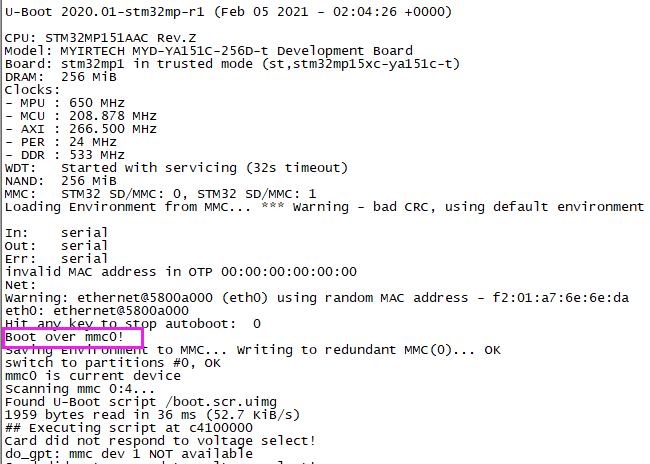
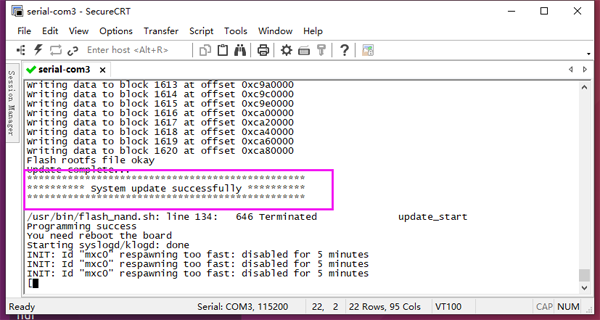
2.3 Power on and burn the system for the development board

2.4 Set BOOT from NAND
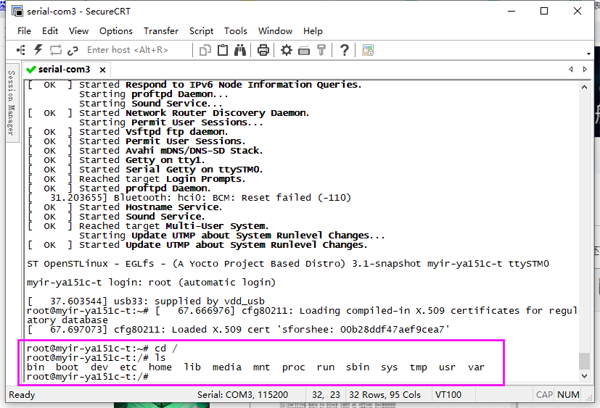
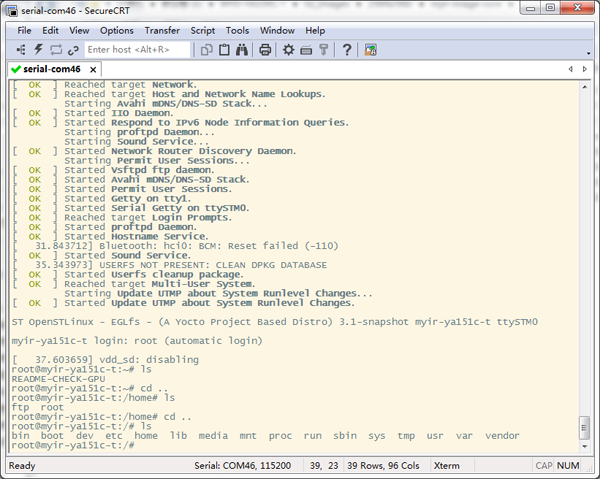
Enter the file system, the system is updated.
Part III Compile uboot and update
1. Compile uboot
1.1 Copy MYiR-STM32-u-boot.tar.bz2 to Ubuntu
1.2 Enter the MYiR-STM32-u-boot/myir-st-u-boot file,
execute the command: make -f Makefile.sdk all

1.3 After compiling, locate the generated object file under buil-trusted in the upper-level directory
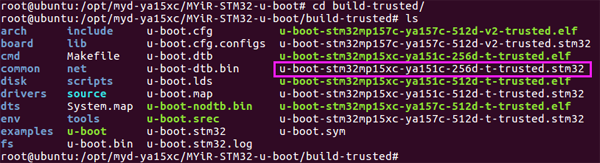
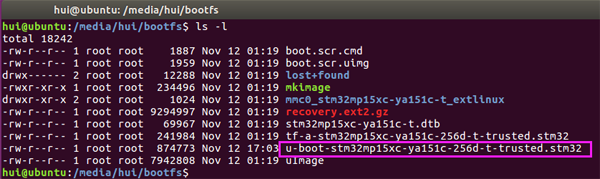
1.4 Copy u-boot-stm32mp15xc-ya151c-256d-t-trusted.stm32 to the SD boot card created in the previous section and partition to the bootfs file.
2. Update uboot
2.1 Set up the SD boot mode, insert the SD card and power on the development board
2.2 After burning, start from NAND and enter the file system

Part IV Drive RGB-LCD display
1. Hardware circuit
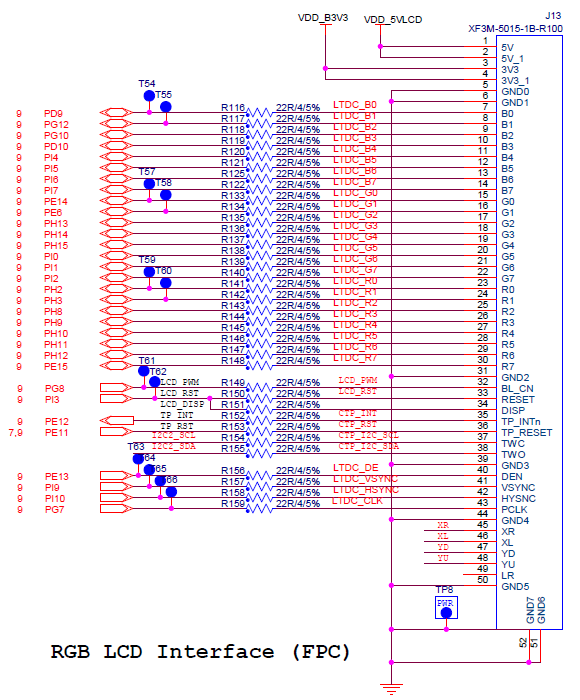
1.1 The LCD hardware circuit diagram of the development board is as follows. It is 24-bit RGB LCD interface.
1.2 DIY LCD adapter board
Here I use a 7 inch LCD as an example, connect it to the development board through the LCD adapter board.
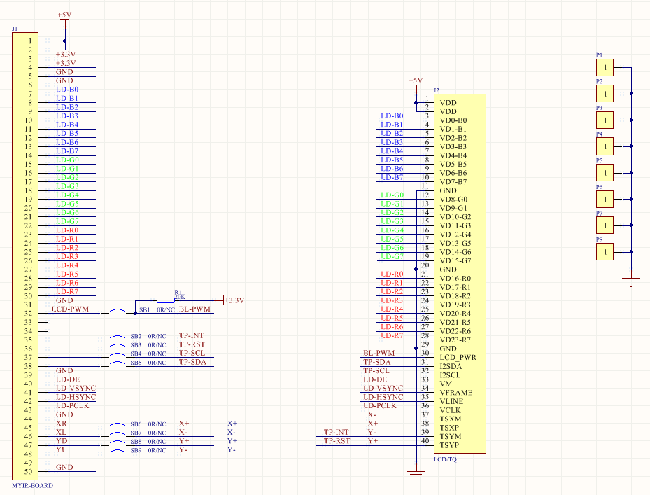
1.2.1 Circuit diagram of the LCD adapter board
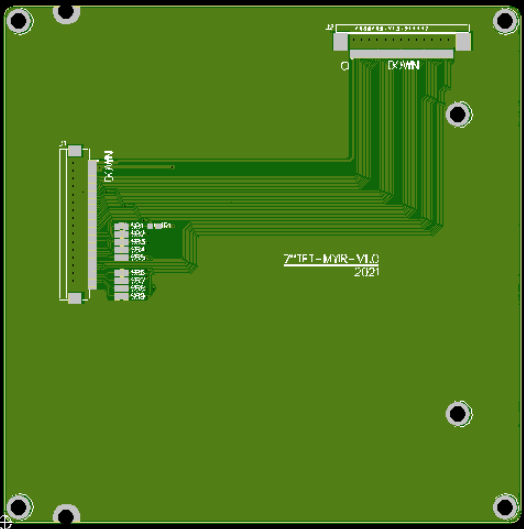
1.2.2 PCB of the LCD adapter board
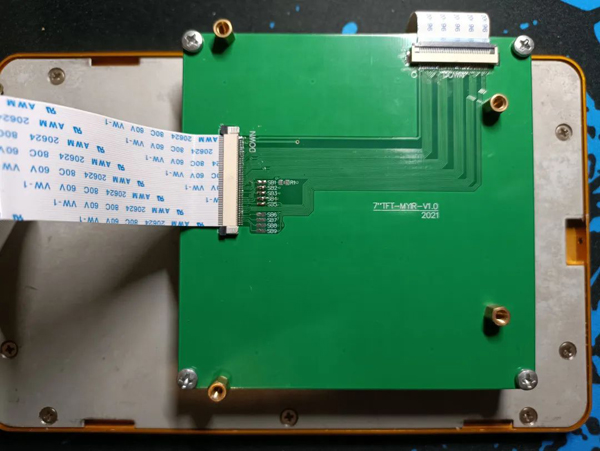
1.3 Pictures of Hardware
1.3.1 Connect and fix the LCD adapter board to the LCD display
1.3.2 Connect the development board to the LCD adapter board
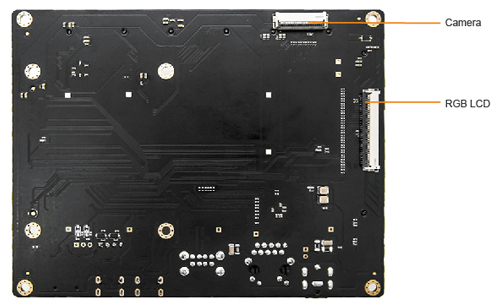
MYD-YA15XC-T Development Board Bottom-view
2. Run the program
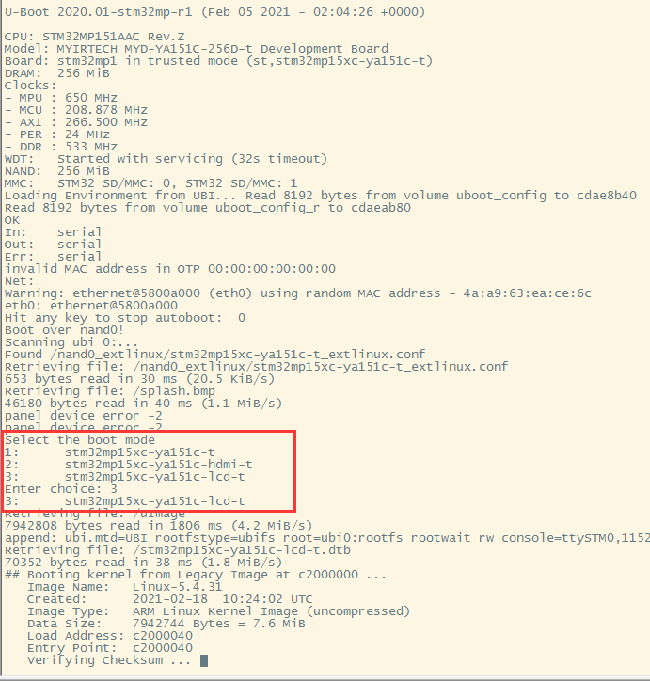
2.1 Select the display mode via the serial port
The development board uses the factory default program, power on the development board, and select mode to drive the LCD through the serial port. Select mode 3 here.
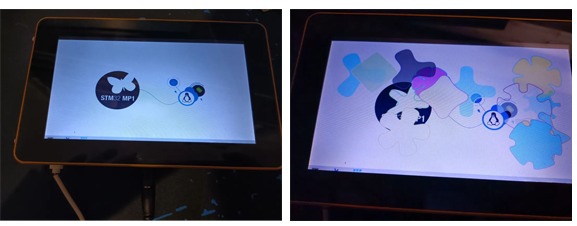
2.2 After the system starts, the LCD displays the following interface. There are three operation menus at the bottom of the screen, which can be operated by touching.
Part V QT creator installation and HMI 2.0 cross-compilation
1. Install the QT-SDK compiler
1.1 Use the SDK tools provided by MYIR for installation
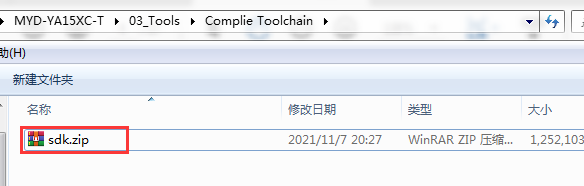
1.2 Decompress the SDK file

1.3 Run installation commands
# ./meta-toolchain-qt5-openstlinux-eglfs-myir-x86_64-toolchain-3.1-snapshot.sh
2. Install QT Creator
2.1 Download the installation package
https://download.qt.io/development_releases/qtcreator/4.12/4.12.0-rc1/
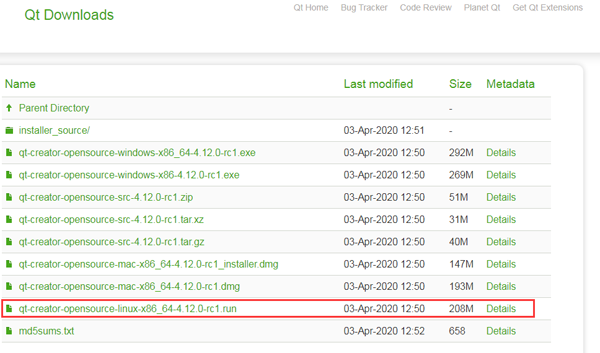
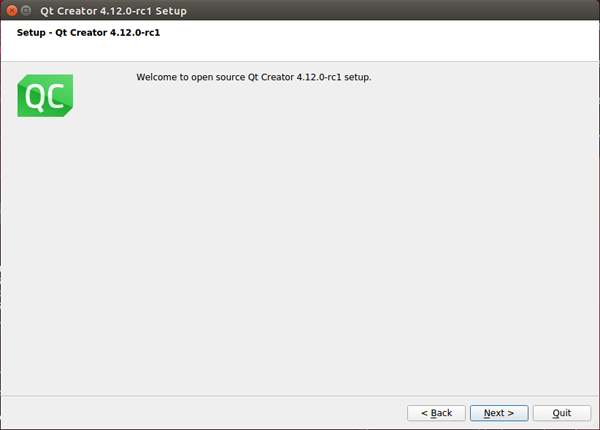
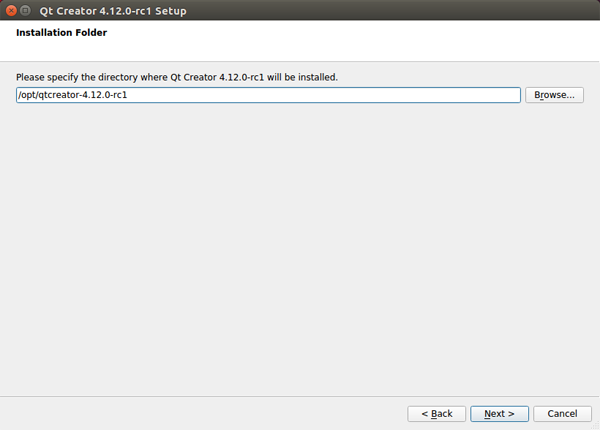
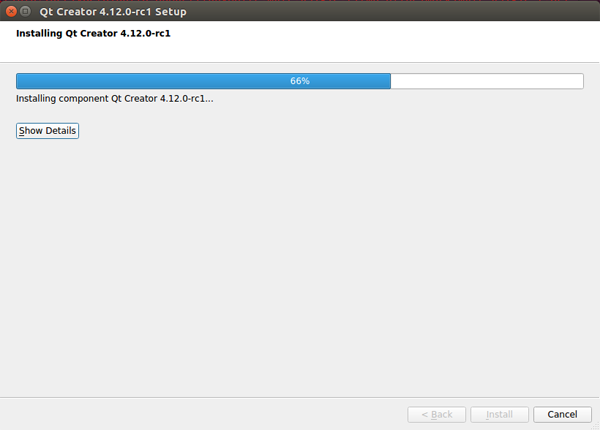
2.2 Run installation commands
#./qt-creator-opensource-linux-x86_64-4.12.0-rc1.run
2.3 Configure the cross-compilation environment
Open QT Creator and execute commands from the terminal
hui@ubuntu:/opt/qtcreator-4.12.0-rc1/bin$ ./qtcreator.sh
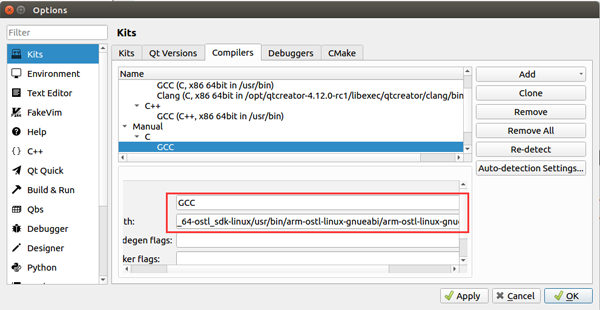
2.3.1 Configure GCC-C
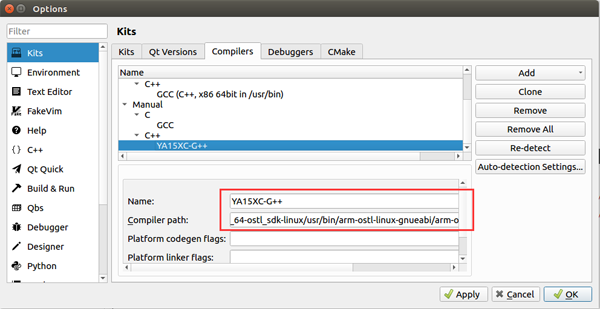
2.3.2 Configure GCC- C++
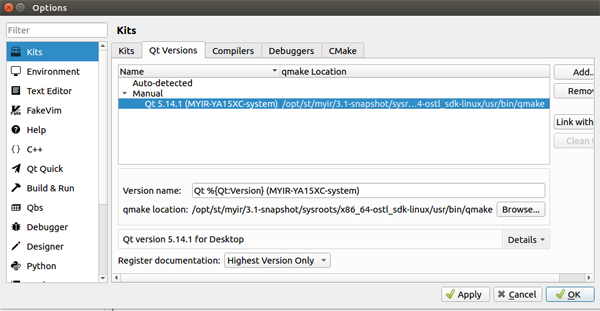
2.3.3 Configure the QT Version
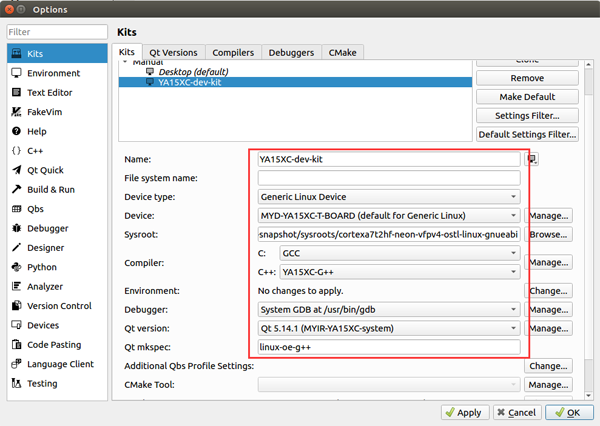
2.3.4 Configure the development board environment
3. Compile HMI 2.0
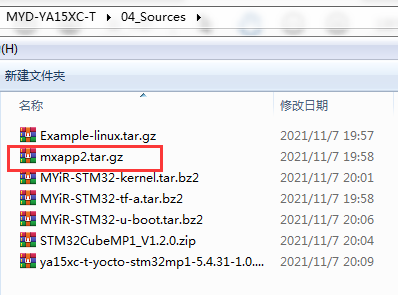
3.1 Copy the mxapp2.tar.gz file to Ubuntu and decompress it
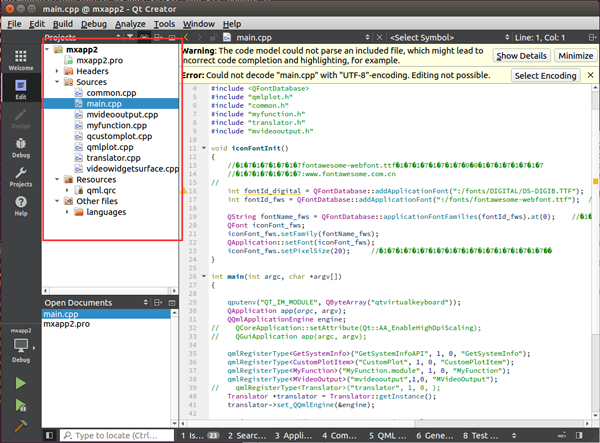
3.2 Open the mxapp project file with QT Creator
3.3 Compile project
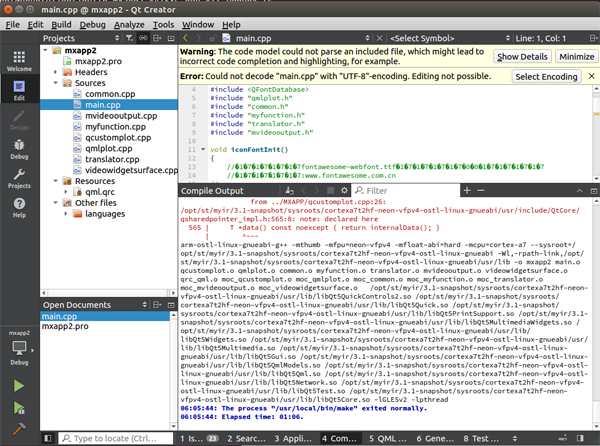
3.4 The mxapp2 execution file generated at last
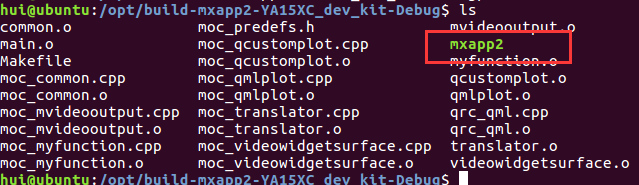
4. Copy it to the development board for running
It will prompt error but I think it might be Ubuntu version difference. MYIR is using ubuntu18.04 but I use ubuntu16.04.

|


